DIY - wooden board tray
Learn how to decorate a wooden tray and
achieve a wooden board effect with just some acrylic colors and a very
dry brush! You can apply this technique on almost any surface and turn
any it into a wooden board. We just love this easy, cheap technique because it's so easy to do and it always gets a lot of whoas!
So let's get busy. For this project we used a tray made of raw wood, but you can use a painted one as well , if you don't like it anymore. We all have those lying around the house, and you use them cause they are handy, but you don't like them. Now you can turn them into something you'll love!
First apply a layer of structured paste on the surface using a wide brush. You should be able to see brush strokes which will imitate the structure of the wood. Leave it to dry. If your tray was covered in varnish and shiny (or of its made of plastic or metal) you should apply a layer of primer before you start with your work.

Cover the tray with a layer of acrylic color. It's always better to apply two thin coats of color rather than one thick coat. Thinner coats will take less time to dry and will look more even. Choose any light shade that goes well with your motive, we used ivory, a really neutral shade that can be combined with almost anything.

Now
take a dry bristle art brush and choose two shades of brown acrylic
colors. Dip you brush only slightly in the lighter shade, and then wipe
it off on a paper towel. You want a very small amount of paint to remain
on the brush.

Apply
a strip of adhesive tape on the tray, where you want the edge of your
"board" to be. You can use only one piece of adhesive tape like we did, and move it around when it's time to do a second board, or you can use several of them and position them in advance. Once that's done, position your brush half on the tape and half on
the surface and brush away! Since there is a small amount of color on
your brush you can repeat your moves more than once. Use your brush as
if you are dusting the tray, and if you run out of color, repeat the
dipping and the wiping before the next move. After the lighter shade of
acrylic color you can use a darker one in the same way.

You can do the same effect on the edges of the tray to get that worn out effect we all love. Again, use the dry brush and just wipe it of the edges. This is a great trick if you want to get that shabby edges without having to do the sanding and two colors.

If
you want, now you can apply a motive on your tray. We used rice paper,
but you can use a napkin as well or you can just paint something of your
own. You can glue the napkin or rice paper with the napkin glue. And if you use the napkin, be sure to remove the two white layers from it before you glue the picture.

Now
it's time for the details! With the other side of your brush (the
wooden tip) make some marks on your wood. Simply dip the tip of the
brush in dark acrylic color and stamp it on the tray. We are going for
the wormhole effect.

And with the proper side of thin brush, draw some lines and cracks.

To
finish it off, apply a coat of protective varnish. You can use any kind
you like, ours was water based and satin finish. Leave it to dry.

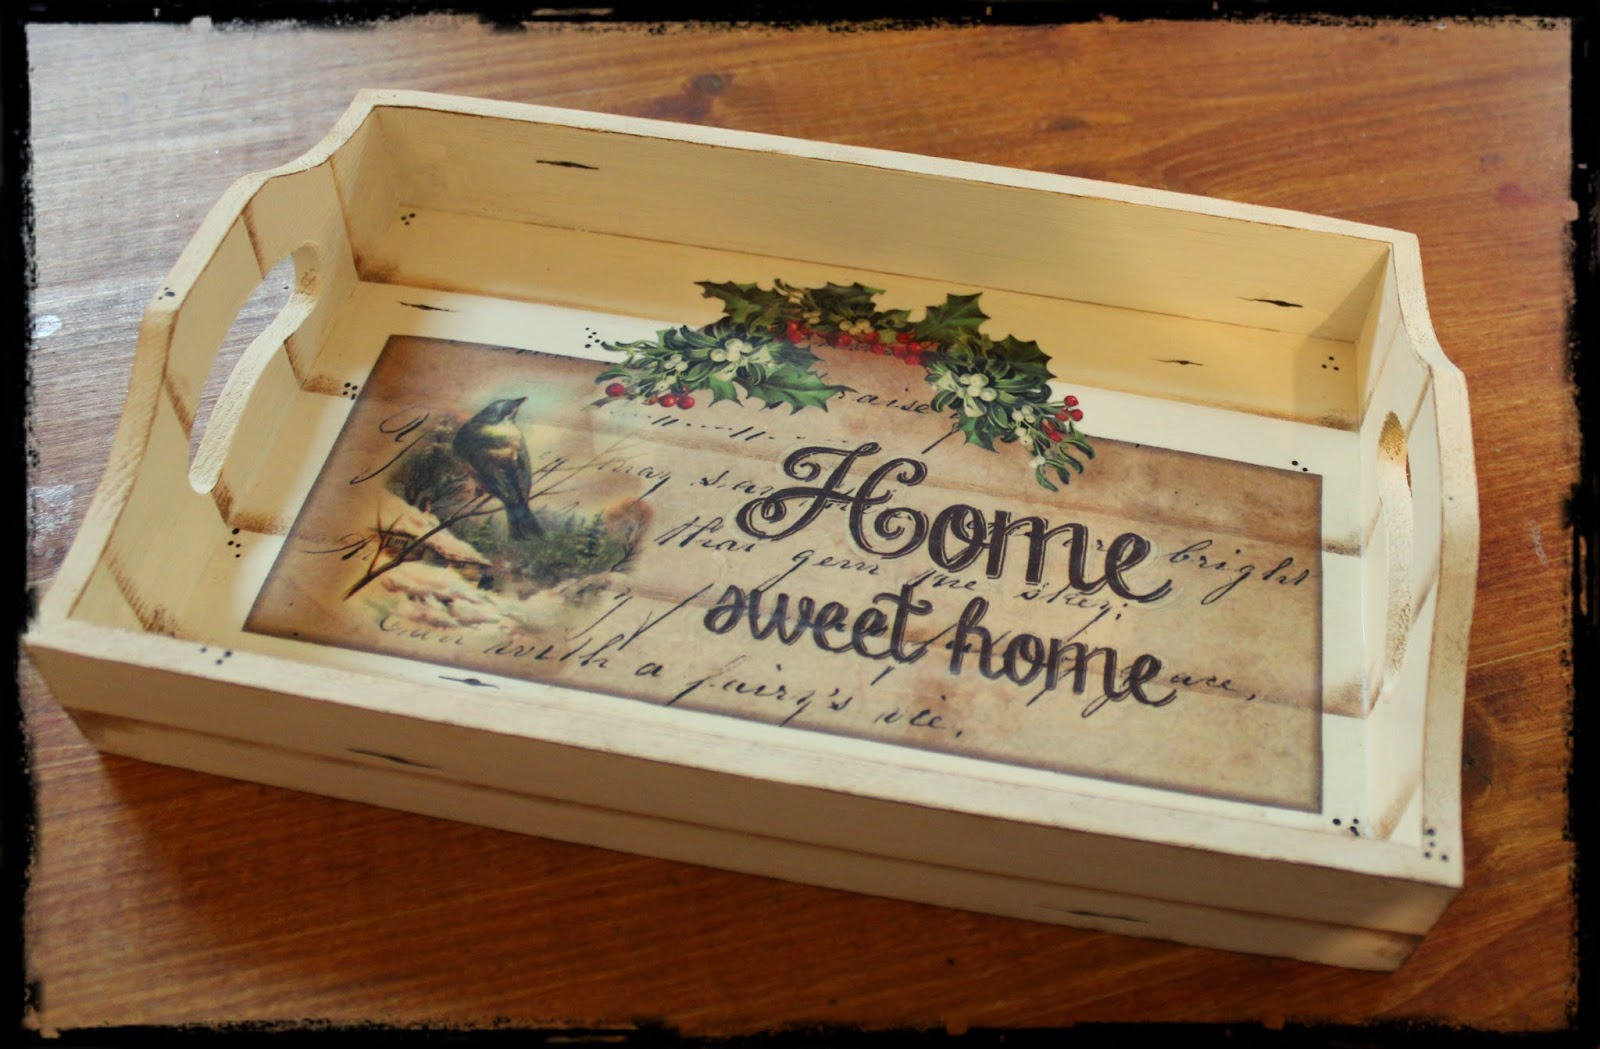
And
this is your old wooden board tray! You can use this technique really
on anything, and on almost any surface, but if the surface is shiny
remember to apply a coat of primer first!

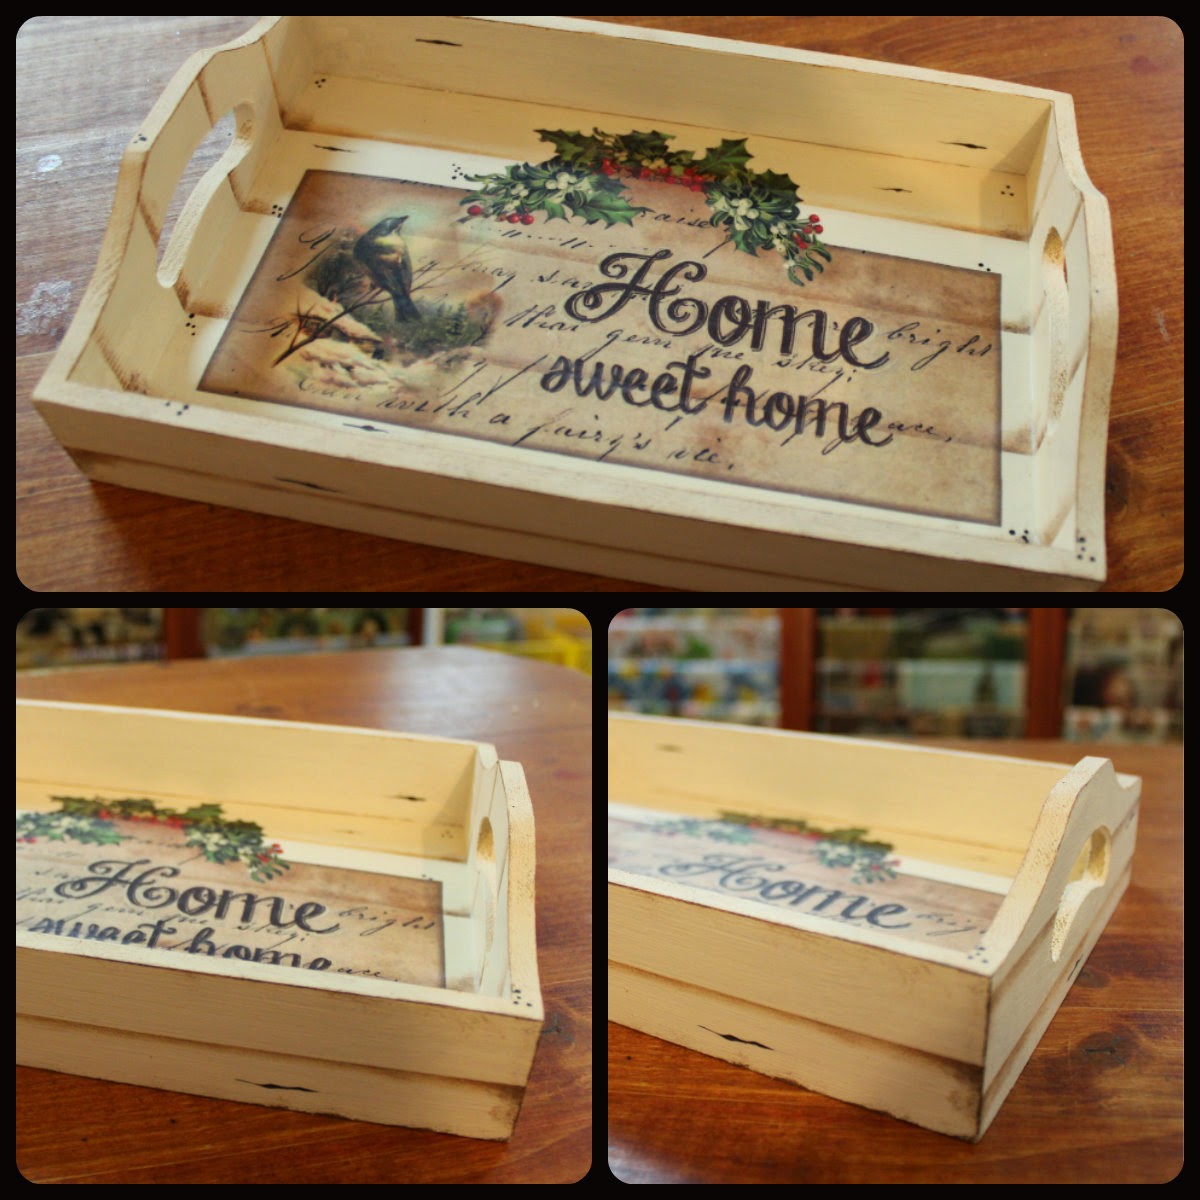
Here is the view from all angles. Now it's your turn!